mre200200
Joe Flowers
- Joined
- Mar 9, 2008
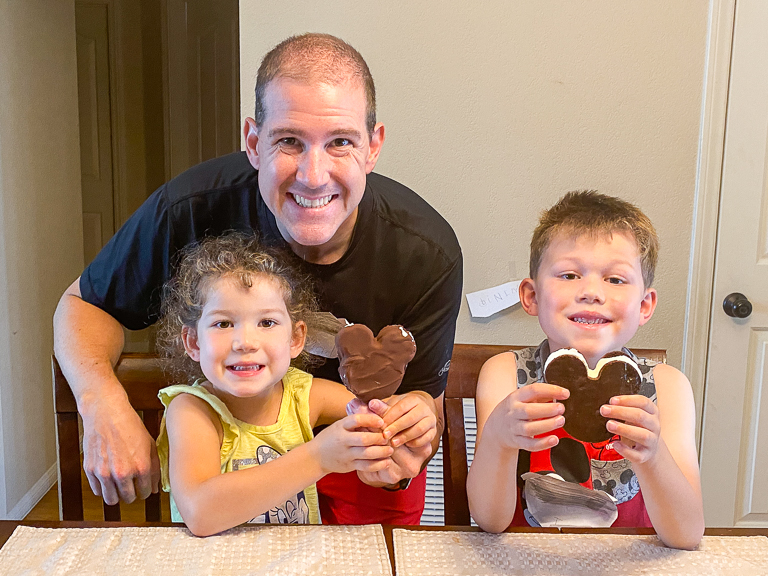
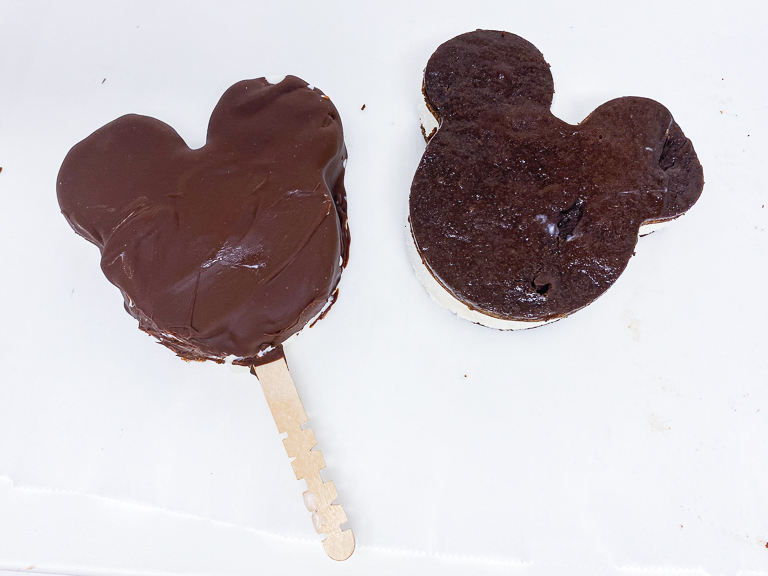
We've got a very special set of Disney Treats today. This has been a fun series. So far we've made Mickey Beignets and Mint Juleps, and also Caramel Apples and Chocolate Wands. These special treats appear to come in twos, don't they. I asked different friends what their favorite Disney Treats were and it was Ruston that said his favorite were the chocolate covered Mickey Bars. It's going to be a little ambitious, but I think we can make something like that at home. And what can go with it? How about a Mickey Ice Cream Sandwich? Let's jump right into it!
So for some of these make a home meals we might take a shortcut or two. Not for this one. Everything is going to be from scratch, and I mean everything. As such, forgive me because this is going to be a little long.
The first thing we're going to make is the ice cream. For National Ice Cream Day, the kids and I made a traditional ice cream base with eggs which is considered more of a custard. When I think of a Mickey Bar or especially an Ice Cream Sandwich, I'm thinking a lighter and fluffier ice cream. Not something dense and eggy. So today we're making a Philadelphia style ice cream. It's known for being a light texture.
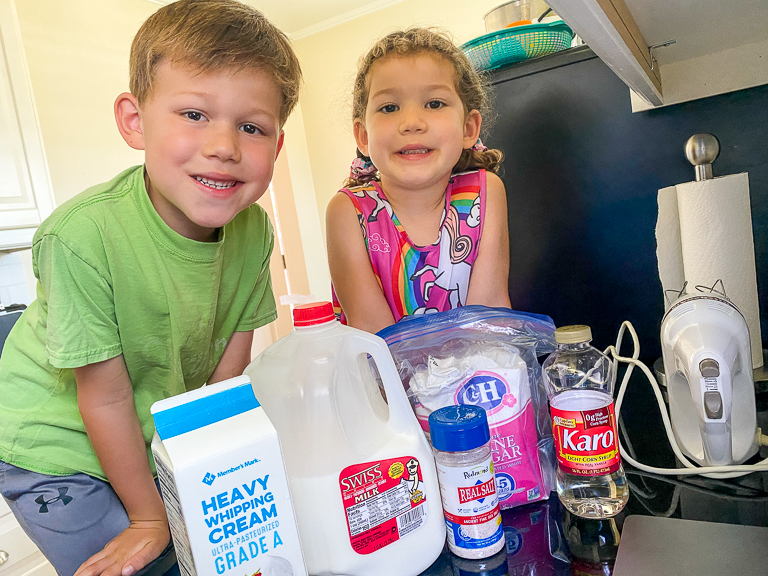
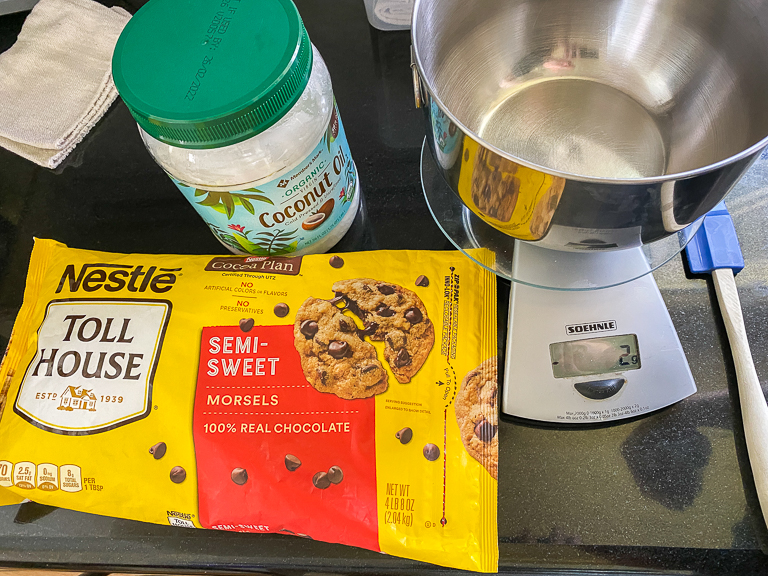
I'm using a recipe from the NYTimes.com for a Philadelphia-Style Ice Cream Base. For this we'll need cream, milk, sugar, corn syrup, and sea salt, plus whatever flavoring we decide to add.
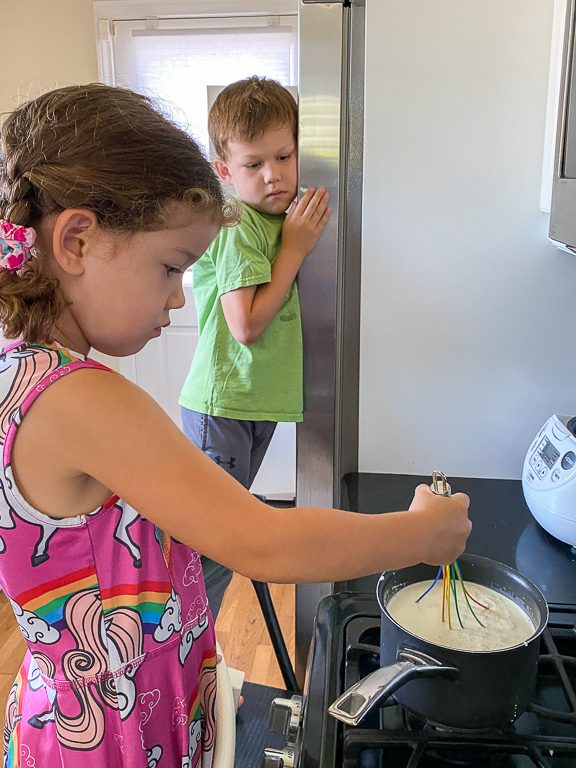
I have the kids help out in the kitchen as much as I can, and they're always willing. Alli and Ian took turns adding the different ingredients to the pot on the burner.
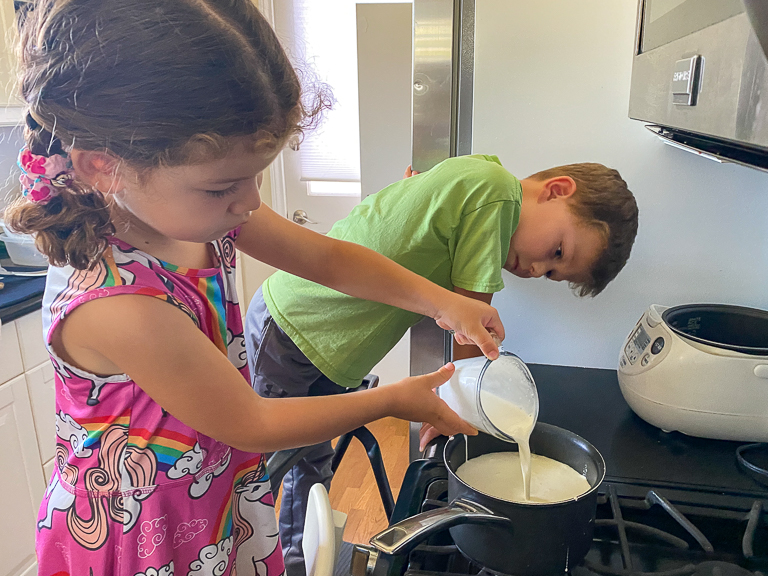
And then gave it a good stir.
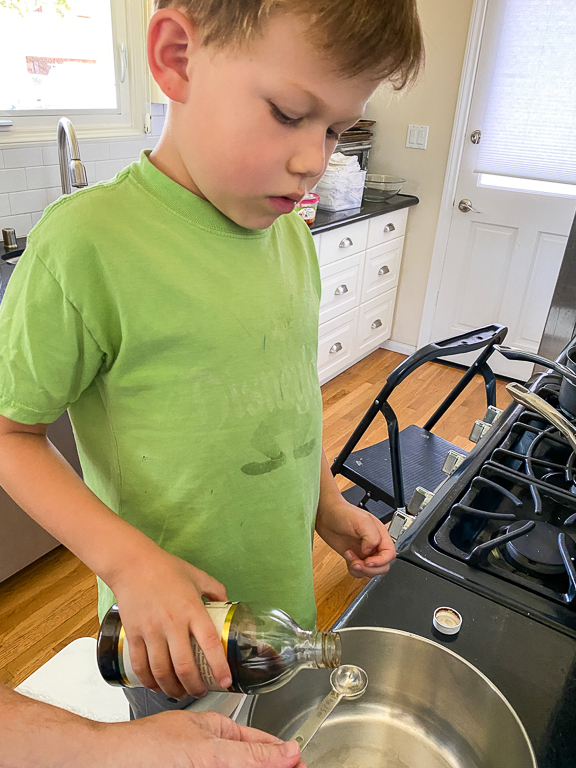
We're using vanilla as our flavor today, so I held the measuring spoon while Ian poured out 2 tsp of vanilla extract. I was impressed with how carefully Ian measured out the vanilla. It didn't spill out of the measuring spoon!
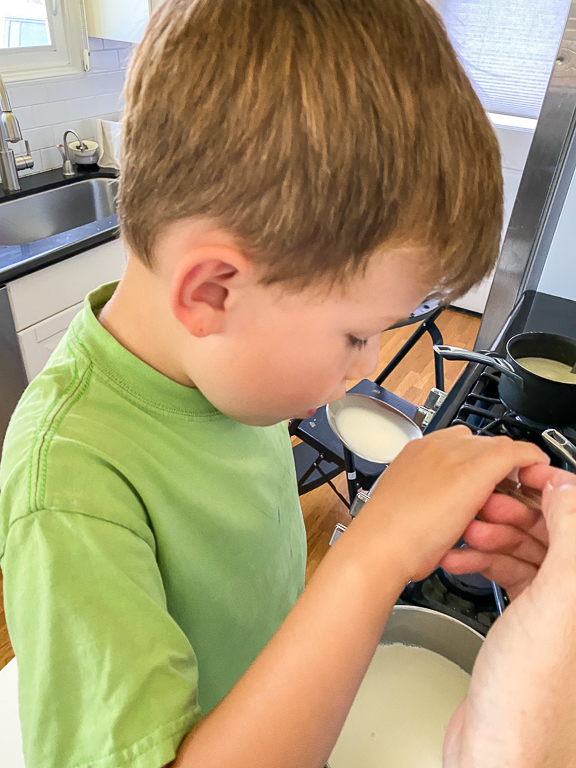
After adding the cooked ice cream base to the bowl with the vanilla and giving it a good mix, it's time to put it in the fridge to cool down. But the kids always ask for a taste whenever they can. Go ahead Ian.
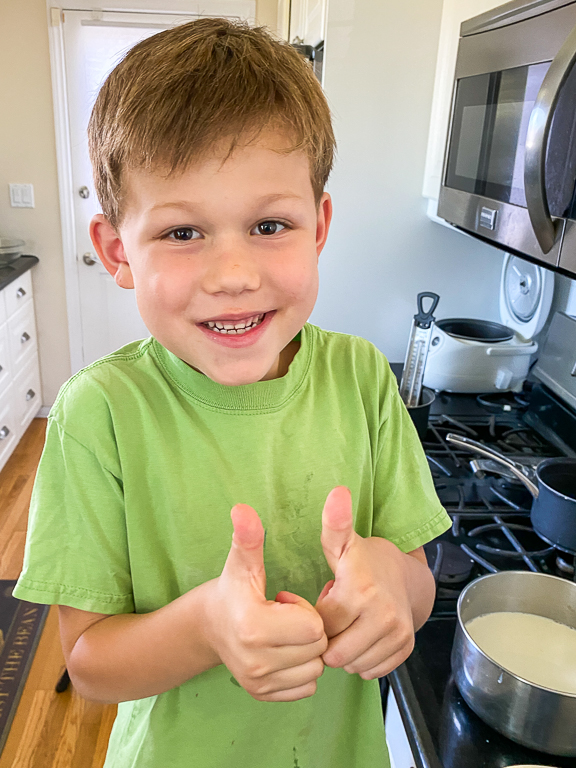
It's delicious! Ian thinks so. I had a taste and I very much agree. It tasted like melted ice cream. Super rich, creamy, and sweet.
Of course Alli wants a taste too.
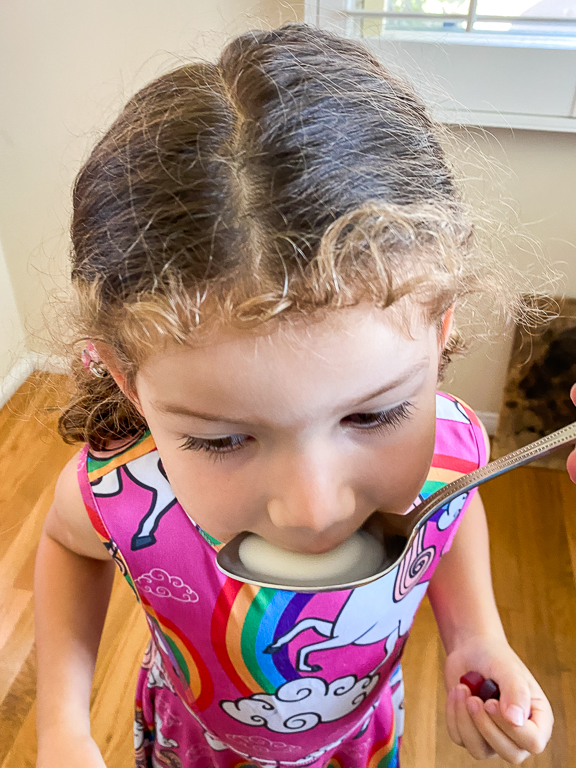
Oh yes, it's very good.

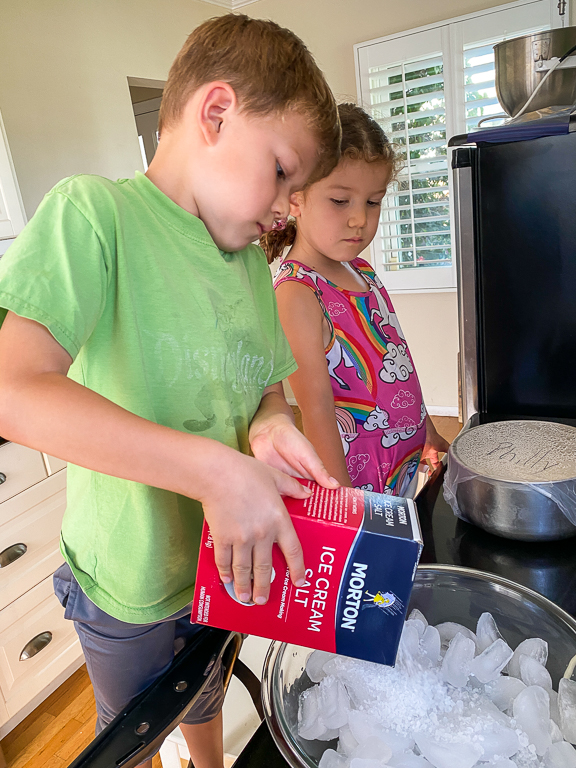
After giving the ice cream base a chance to cool down, it's time to whip it up. I don't have an ice cream maker, so we're going to use the two bowls method. It starts with a large bowl, ice, and a bunch of rock salt.
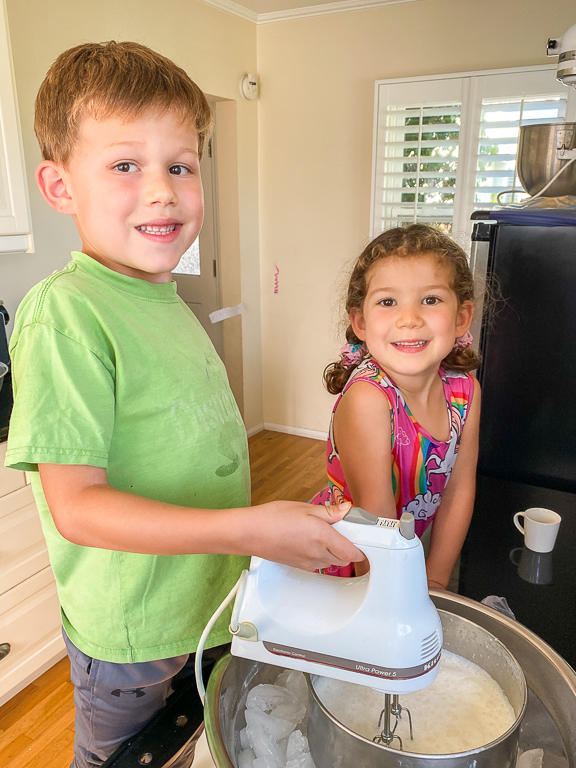
In a smaller metal bowl, you constantly stir the ice cream base, scraping the sides of any frozen cream that happens to form. Doing this will get you small ice crystals and that light and creamy flavor.
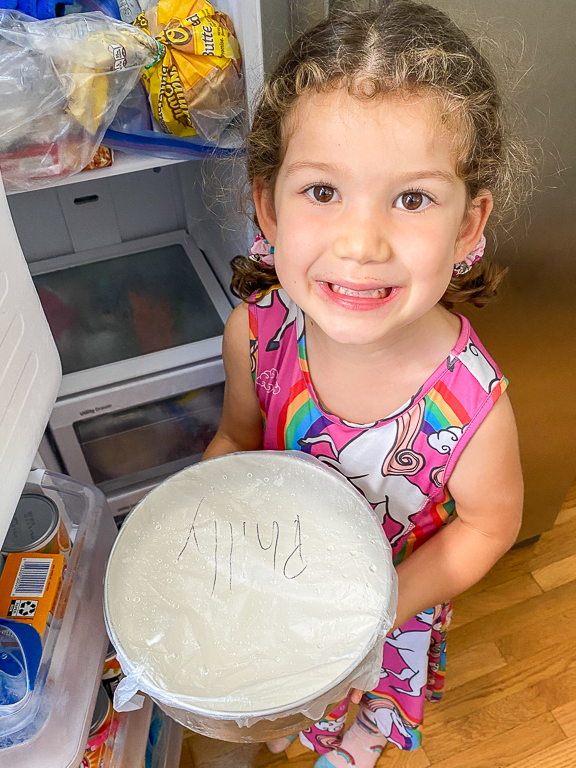
Once the base has absorbed as much cold as it can from the ice, it goes into the freezer for an hour. Thanks Alli.
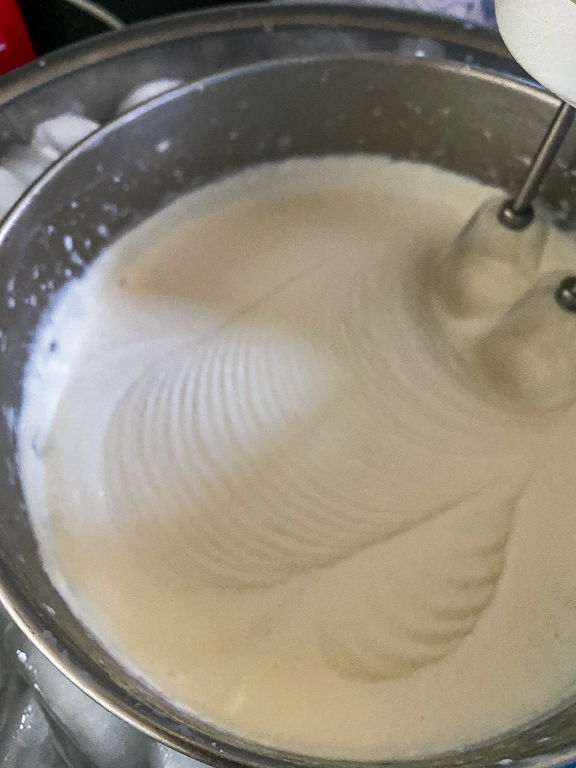
Once it comes out of the freezer, you do the two bowls method again. Whipping it up a second time made it really light. It totally looks like soft-serve ice cream now.
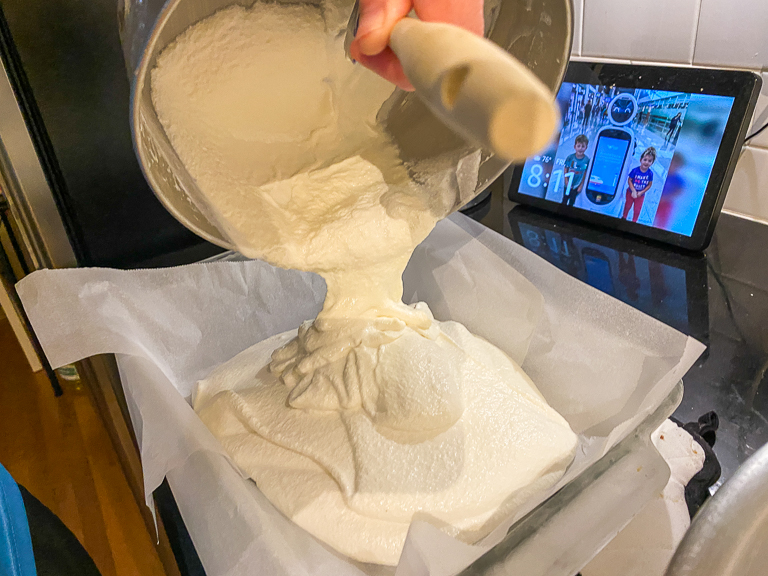
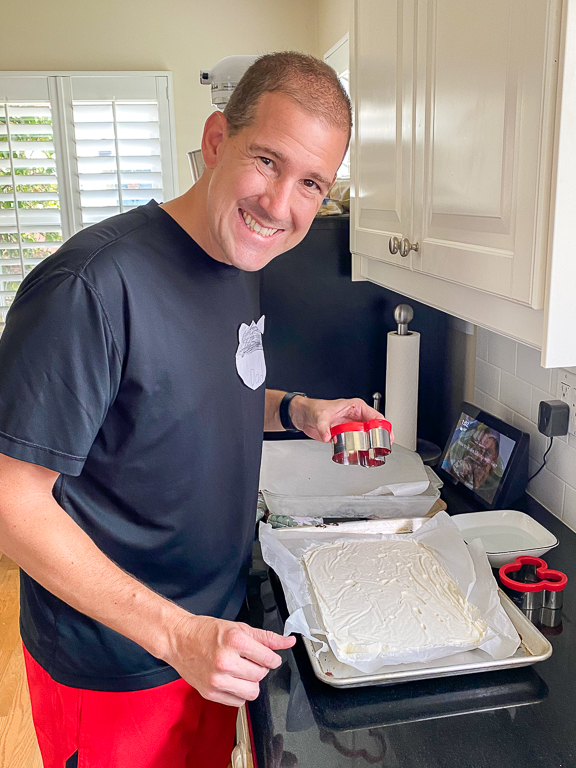
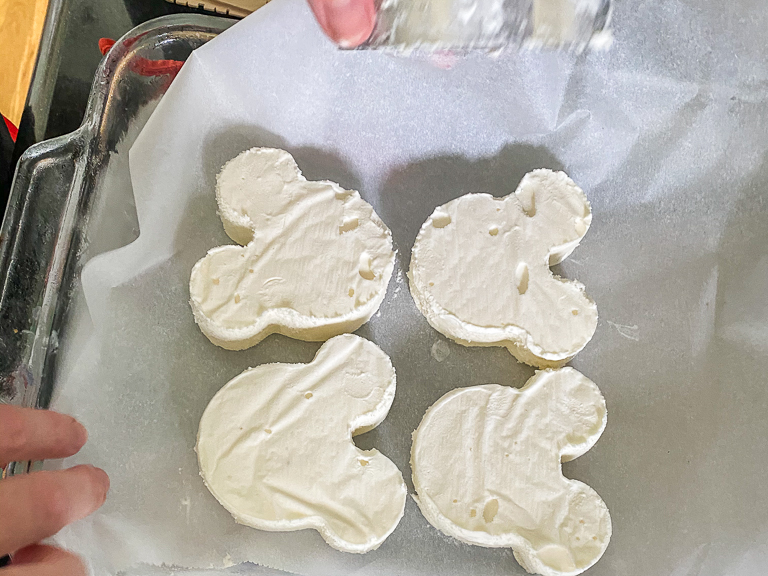
Normally this would going into a bowl, but since I'm looking to make something a little different, I'm using a large glass baking dish that I lined with parchment.
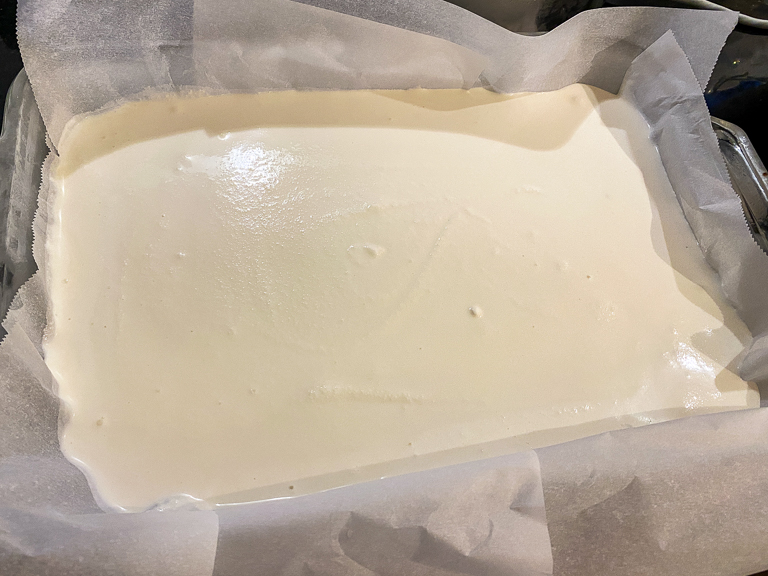
Now that the ice cream is all settled, it's time to freeze it for 24 hours.
It's not just the ice cream that we're making from scratch. If you're making ice cream sandwiches, you need that chocolate cookie that goes on the outside. It's not terribly difficult apparently, so sure, let's give it a shot. I got my recipe for the cookie from kingarthurflour.com for the Chocolate Ice Cream Sandwiches.
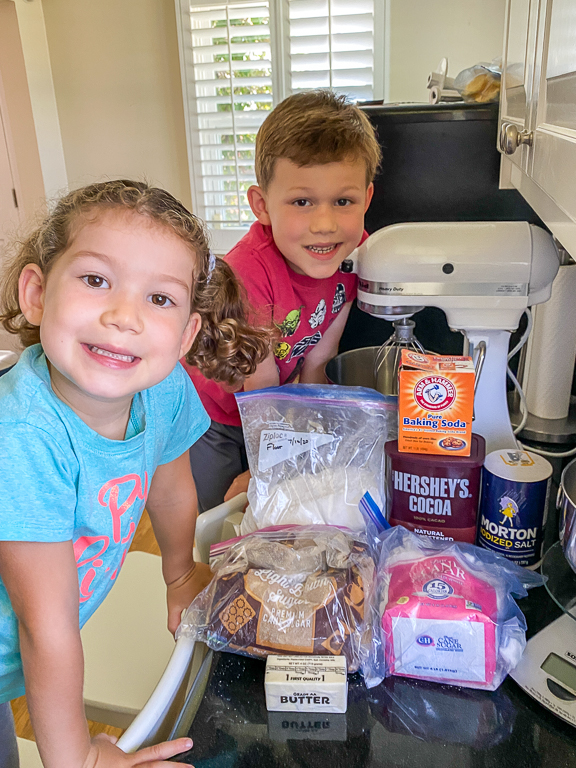
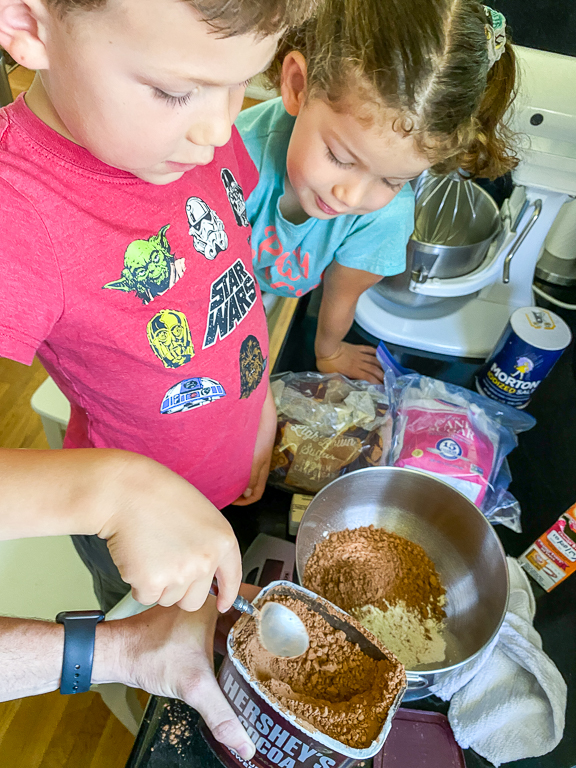
The kids helped measure out the ingredients. They both asked to try the unsweetened cocoa powder. Yep, it's a little bitter. Definitely unsweetened.
After mixing all that together, it's time to spread this out on a sheet pan and cook it.
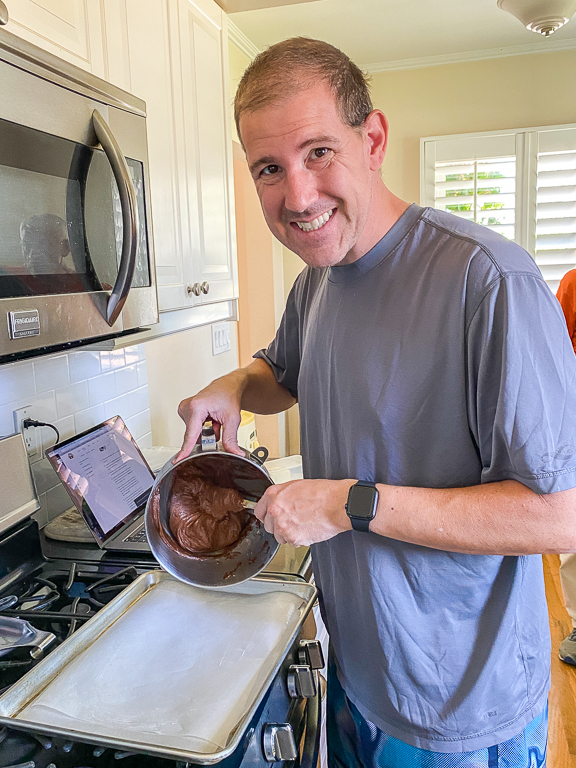
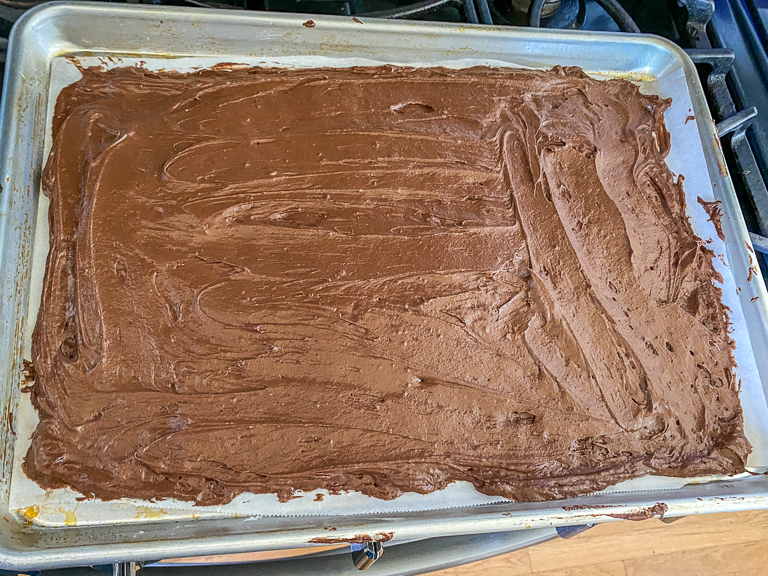
After lining it with parchment, I did the best I could to make it a nice smooth even layer. It was sticky and wanted to bunch up in places, but eventually it worked itself out.

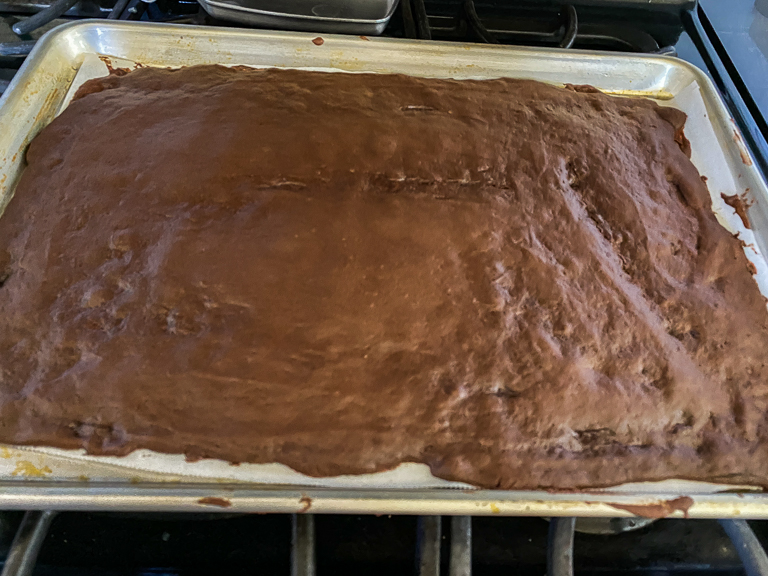
After only 10 minutes this giant cookie slab is done. After spending 30 minutes on a cooling rack, I took the whole thing straight to the freezer to become hard frozen.

So for some of these make a home meals we might take a shortcut or two. Not for this one. Everything is going to be from scratch, and I mean everything. As such, forgive me because this is going to be a little long.
The first thing we're going to make is the ice cream. For National Ice Cream Day, the kids and I made a traditional ice cream base with eggs which is considered more of a custard. When I think of a Mickey Bar or especially an Ice Cream Sandwich, I'm thinking a lighter and fluffier ice cream. Not something dense and eggy. So today we're making a Philadelphia style ice cream. It's known for being a light texture.
I'm using a recipe from the NYTimes.com for a Philadelphia-Style Ice Cream Base. For this we'll need cream, milk, sugar, corn syrup, and sea salt, plus whatever flavoring we decide to add.

I have the kids help out in the kitchen as much as I can, and they're always willing. Alli and Ian took turns adding the different ingredients to the pot on the burner.

And then gave it a good stir.

We're using vanilla as our flavor today, so I held the measuring spoon while Ian poured out 2 tsp of vanilla extract. I was impressed with how carefully Ian measured out the vanilla. It didn't spill out of the measuring spoon!

After adding the cooked ice cream base to the bowl with the vanilla and giving it a good mix, it's time to put it in the fridge to cool down. But the kids always ask for a taste whenever they can. Go ahead Ian.

It's delicious! Ian thinks so. I had a taste and I very much agree. It tasted like melted ice cream. Super rich, creamy, and sweet.

Of course Alli wants a taste too.

Oh yes, it's very good.

After giving the ice cream base a chance to cool down, it's time to whip it up. I don't have an ice cream maker, so we're going to use the two bowls method. It starts with a large bowl, ice, and a bunch of rock salt.

In a smaller metal bowl, you constantly stir the ice cream base, scraping the sides of any frozen cream that happens to form. Doing this will get you small ice crystals and that light and creamy flavor.

Once the base has absorbed as much cold as it can from the ice, it goes into the freezer for an hour. Thanks Alli.

Once it comes out of the freezer, you do the two bowls method again. Whipping it up a second time made it really light. It totally looks like soft-serve ice cream now.

Normally this would going into a bowl, but since I'm looking to make something a little different, I'm using a large glass baking dish that I lined with parchment.

Now that the ice cream is all settled, it's time to freeze it for 24 hours.

It's not just the ice cream that we're making from scratch. If you're making ice cream sandwiches, you need that chocolate cookie that goes on the outside. It's not terribly difficult apparently, so sure, let's give it a shot. I got my recipe for the cookie from kingarthurflour.com for the Chocolate Ice Cream Sandwiches.

The kids helped measure out the ingredients. They both asked to try the unsweetened cocoa powder. Yep, it's a little bitter. Definitely unsweetened.

After mixing all that together, it's time to spread this out on a sheet pan and cook it.

After lining it with parchment, I did the best I could to make it a nice smooth even layer. It was sticky and wanted to bunch up in places, but eventually it worked itself out.
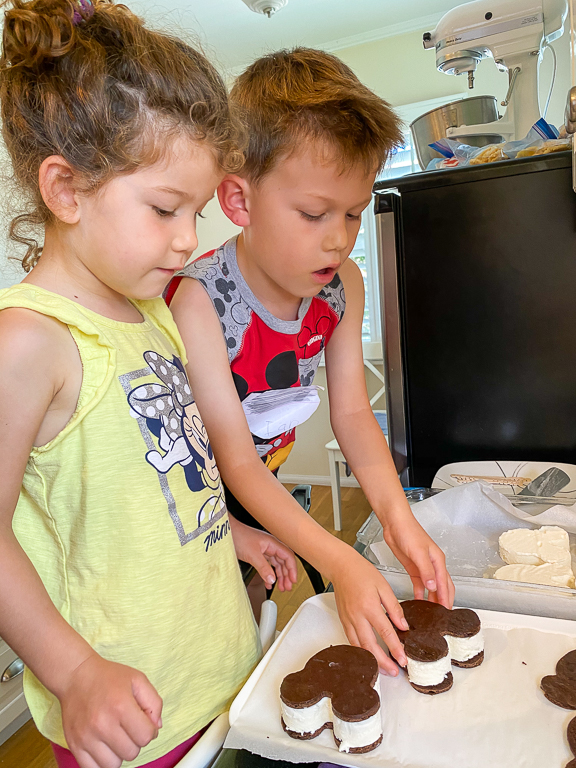
After only 10 minutes this giant cookie slab is done. After spending 30 minutes on a cooling rack, I took the whole thing straight to the freezer to become hard frozen.


")
") . Great job!!
. Great job!! So I guess I'll have to pull out the regular fryer for it. It will be my fatty treat for the week.


