To Infinity and Beyond - Becoming a Better DopeyBadger (Comments Welcome)

Amphibia Costumes - Anne's Hair - Part 12

Alright, Anne's hair piece was in a good place for the foam and LEDs. Which meant it was time for the last part of the piece, the wig hair. I had originally purchased this one (link), but we didn't like the tint of blue. It looked a little too greenish. I also bought this one (link) for the curls (because as we learned Anne has curls), but it wasn't going to be easy to work with for our purpose. At least the curly wig wasn't all for naught though. We ended up deciding that if G needs a break from the LED hair piece we can just throw on the other wig and the costume will still look complete. The wrong color wig was useful as well because I ended up using it for practice (of which there was a lot of). But ultimately we ended up with this blue wig (link) as the right choice.

So I didn't take a ton of pictures during the practice phase, but easy to say it was pretty frustrating. As a reminder, I was using that Goku youtube video as a basis for this project, but without any audio and it traveling at 3x speed it was hard to fully determine what he was doing. Especially for someone who has never done anything like this before. But after slowing the video down to 1/4 speed, I was able to learn a few things. He appears to be using a glue, and the liquid that he dips his hands into is likely soapy water to remove the glue residue because he immediately wipes his hands off. Thus not relevant to making the wig hair stick. He also appears to be using a hot glue gun for making the initial bond between the wig hair and the foam. So I had some things to work with.

I didn't have a mannequin head, so I had to improvise. I used the hockey stick coat rack I've been using to hang my Dremel off of. I attached a rubber play ball that was roughly the size of a head to the top using Gorilla tape in all four directions. Then I placed the wig over it to create my own make shift mannequin.

View attachment 851917

I tried a few different sequence of events for the process. I used G's Johnson and Johnson detangler (which was very needed for the practice wig). Lucky to have a kiddo with long hair and already learning which detangler is better than the rest. I learned that you really need to not touch the wig as much as possible. These wigs are cheap, and every brush seems to straighten and tangle it equally. So less touching was always better.

The Goku video cuts the hair close to the scalp to make his small pieces of hair. I tried that method, and I also tried two others. I tried cutting the hair from the bottom at a certain desired length, and then I also tried removing the hair in wefts from the actual sewn piece. The wefts were handy in that the hair was attached to something else and moved less, but ultimately the look was way off. Cutting the hair from the top like the Goku video was good, but left me with uneven pieces that were harder to work with down below. I ultimately found cutting from the bottom at desired lengths and working my way up was the best method.

View attachment 851919

View attachment 851920

After getting a chunk of hair, cutting it using my special fabric scissors (a must), I would continue to hold that piece in my left hand. I tried to leave a tip of about 1/4 to 1/2 inch above my fingers. I'd then immediately dip my right fingers into MOD PODGE Matte to seal the tip together.

View attachment 851916

After sealing the tip, I would lean the edge of the tip off of a cardboard box having not yet moved any fingers on my left hand since cutting. And then open my left hand fingers as the hair laid on the cardboard box. I learned the less movement and touching the better. Then I'd rest my left hand over the hair above the glued tip line, and fix the tips with my right hand. The left hand holding the hair down was essential to not having the hair move on you while fixing it with the right hand. Once I got the tip in a good place, then I'd dip my hands in soapy water, remove the glue, and then dry them off. Now I'd start the whole process again with a new chunk of hair. I tried to make a variety of lengths, widths, and densities.

View attachment 851922

View attachment 851923

View attachment 851918

View attachment 851921

Once I had made a variety of hair pieces, then I could move to affixing them to the foam itself. The tough part of my hair piece is that I've got a lot of other things going on compared to the Goku wig. Additionally, I wanted to make my job easier by using gravity. In Goku's wig, he affixes all of the hairs at the base of the spike, then he forms them into a spike and uses a hair tie. But my forms aren't spikes and I don't think they'd come to a tip so easily. So I couldn't use that method. For that reason, I felt using gravity was a must. But I also can't lay my piece down on the table because it has pieces that'll get damaged. So I came up with a method that would allow the piece to hang off the edge of the table without damaging the sticks/leaves.

View attachment 851924

I put the hair piece into a long pole, and then placed a dumbbell on the other side. That way the pole couldn't raise up as long as the downward force of the hairpiece didn't exceed the weight of the dumbbell.

View attachment 851925

The system worked well outside of some spinning every once in a while. Now that we had that issue settled it was time to work through how to actually afix the wig hair strips to the foam hairpiece.

Next -
This is looking really great.


What time are you passing through tomorrow? I can probably scoot out for 30ish min or so.
Sorry - too late! I didn't check Dis again after I posted that because I needed to get sleep with a 4am wake-up. Coming back through Sunday morning, I'm already looking at a 5am wake-up without a stop (which would be early for you), so I don't think that's a good idea.
 
@DopeyBadger Can you share your half marathon fueling strategy? I think I've asked you for it before -- and I think you've shared it -- but I can't seem to find it despite searching here and other places I feel like I would have saved it.


Sorry - too late! I didn't check Dis again after I posted that because I needed to get sleep with a 4am wake-up. Coming back through Sunday morning, I'm already looking at a 5am wake-up without a stop (which would be early for you), so I don't think that's a good idea.

Bummer we couldn't make this work.

@DopeyBadger Can you share your half marathon fueling strategy? I think I've asked you for it before -- and I think you've shared it -- but I can't seem to find it despite searching here and other places I feel like I would have saved it.

2019 Madison HM (current PR)

-Carb loaded the day before using Western Australian with Maurten 320 method
-Maurten 320 just prior to start of race
-One Maurten caffeinated gel at 40 min into race

Based on the research, none of this should technically be needed as being under 90 min shouldn't really push the glycogen storage threshold too hard.

But who really is this important for?
-Research has shown that events over 90 minutes are ones that can benefit from a performance standpoint when doing a carb loading strategy.

Hawley JA, Schabort EJ, Noakes TD, Dennis SC. Carbohydrate-loading and exercise performance. An update. Sports Med. 1997 Aug;24(2):73-81. Review. PubMed PMID: 9291549.

With that being said, as long as it doesn't cause adverse events then it can't really hurt. I only ever had issues in a HM in Madison Mini 2018 when I might have pushed the in-race consumption a bit too high.
 
Well, it was suppose to be marathon day on Saturday, but I had pulled the plug several months ago due to everything that's going on. It was absolutely the right choice. But I decided to check in on the weather for the marathon just to see what I was missing out on. As a reminder, I was going to be super aggressive with the training post Disneyland. Seriously going all in with many many doubles and pushing the mileage higher than ever before (talking 10-12 hrs per week). So what kind of beautiful weather would I have been treated with? T+D in the 120-130 range (unseasonably high), a steady heavy rain, and sustained winds of 18-22 mph with gusts much higher. Bleh! I would have been so incredibly disappointed after all that training to be treated with such a day. Now I did pre-plan for bad weather and had a second planned marathon the following weekend, so I guess we'll see if that one ends up any better. But at least for the original plan, that's just some bad marathon weather!
 
💯 I should have been more specific about my use of the term “gem”. I just find it fascinating that Canova posts the workouts in such a public fashion.

Oh yea, he does/used to do that with frequency. Pretty sure there's an entire archived section of LR devoted to Canova threads where he divulges information (like this one from 20 years ago - link). There used to be several other big name coaches who would similarly post in LR. It's been a while since I've been on there, so I don't know anything recent.
 
Amphibia Costumes - Anne's Hair - Part 14

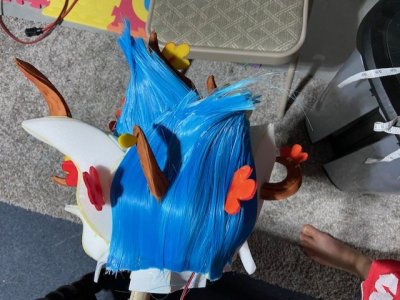
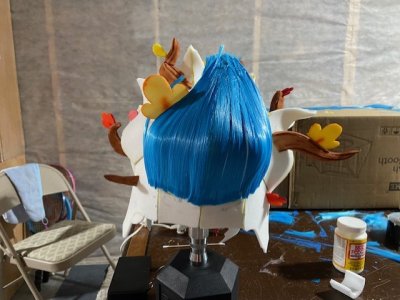
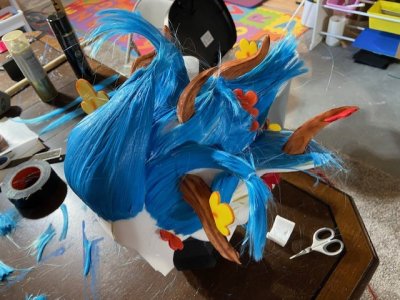
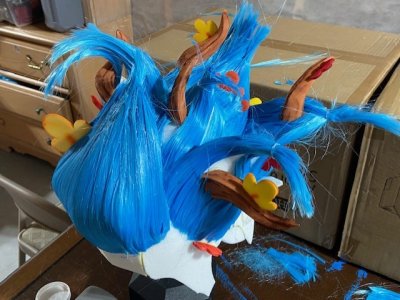
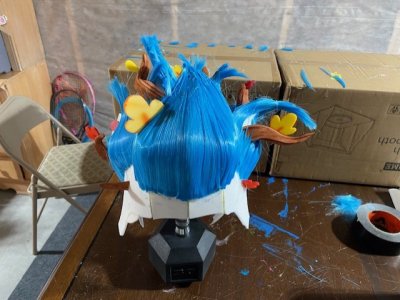
Not much to add in words, but lots of pictures on the progress. The routine continues to be the same. Cut some chunks of hair away from the wig, Mod Podge the tips together, allow to dry, then hot glue the tips to the head piece, once a section has enough hair, then wet with water, smooth it down, spray with hair spray, smooth it down, spread a thick layer of Mod Podge on top, smooth it down, allow to dry, repeat. It's tedious and takes quite a while for each section. I am fatiguing a bit and looking forward to something new though.

thumbnail_IMG_7085.jpg

thumbnail_IMG_7088.jpg

thumbnail_IMG_7093.jpg

thumbnail_IMG_7100.jpg

I'm really happy with how the front piece turned out. I tried really really hard to get it to lay flat and be a nice single layer. That took a lot of patience.

thumbnail_IMG_7097.jpg

thumbnail_IMG_7101.jpg

thumbnail_IMG_7103.jpg

thumbnail_IMG_7106.jpg

thumbnail_IMG_7107.jpg

Next -
 
Amphibia Costumes - Anne's Hair - Part 15

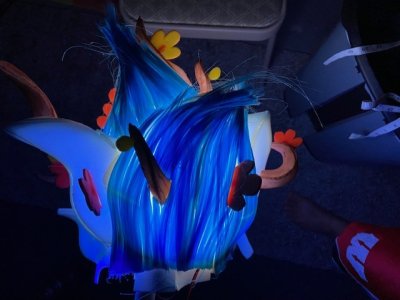
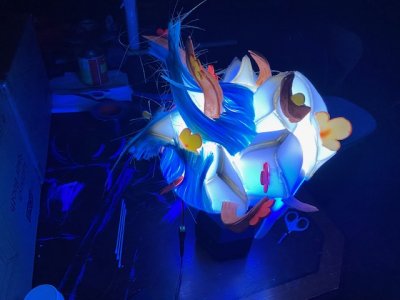
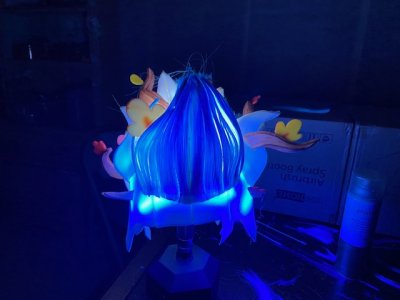
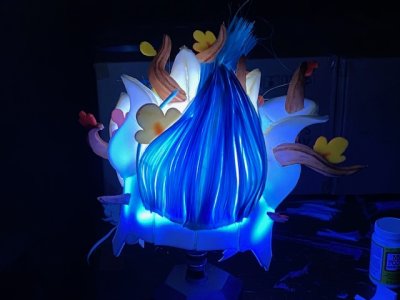
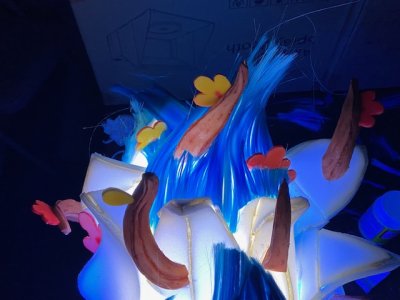
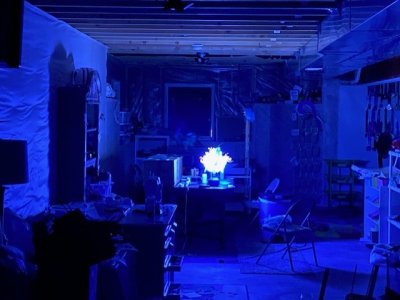
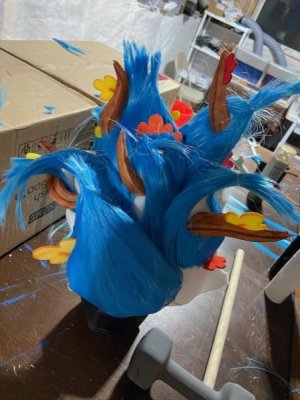
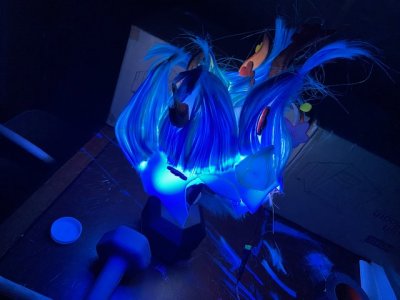
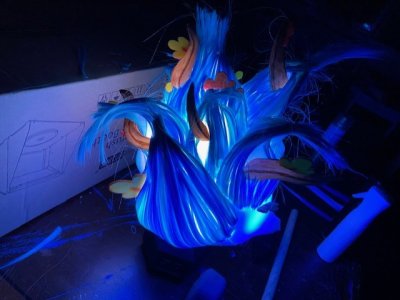
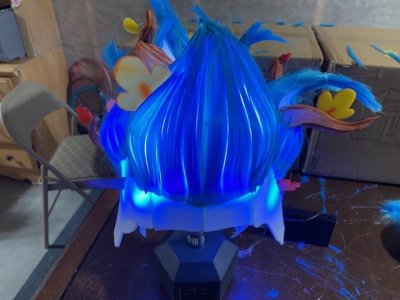
Depending on the phone camera settings, it really can make it look like it lights up the room at dark.

thumbnail_IMG_7112.jpg

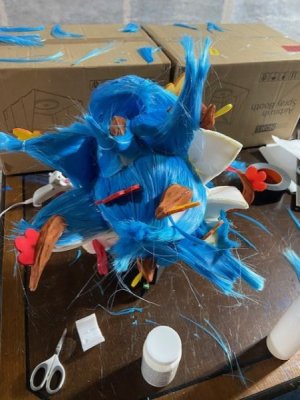
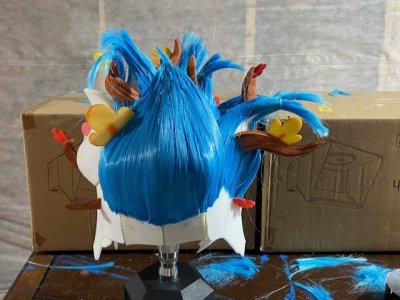
I started using small hair bands to hold some of the stray pieces together near the tips. It helped form a more cohesive piece.

thumbnail_IMG_7113.jpg

thumbnail_IMG_7114.jpg

thumbnail_IMG_7116.jpg

thumbnail_IMG_7117.jpg

thumbnail_IMG_7119.jpg

thumbnail_IMG_7121.jpg

thumbnail_IMG_7122.jpg

thumbnail_IMG_7123.jpg

thumbnail_IMG_7124.jpg

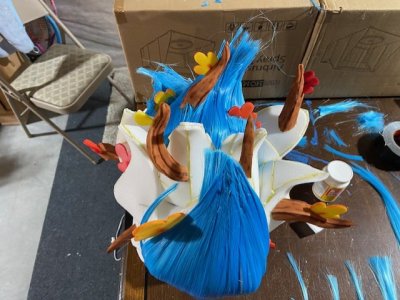
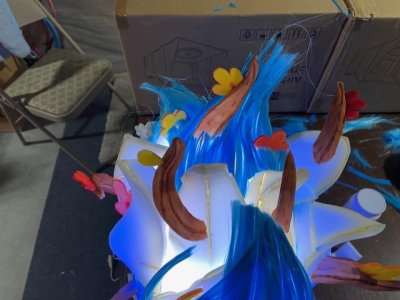
It's still a little messy and the tips need to be cleaned up, but we're getting close to finished now. Now what could be the worst case scenario? Running out of wig hair. And I'm so ridiculously close to being finished and I'm cutting scraps off the wig now to finish it up. Wouldn't be a big deal if I could just order another one right? Except that the exact wig I purchases has since been delisted on Amazon... Ugh. I spent hours scouring for a match, and finally felt like I found one on EBay, only to have it be delivered and be a slightly different blue. I've got another on order, and just a few minutes ago found another option, but I really don't want to have a two tone look. But if it comes to it, I'll deal with it. Other than that, it's going well. Just taking a long time to finish. But thankfully the finish line is in view, and we're already planning our next steps on the next part of the project we'd like to tackle next.

Next -
 

GET A DISNEY VACATION QUOTE

Dreams Unlimited Travel is committed to providing you with the very best vacation planning experience possible. Our Vacation Planners are experts and will share their honest advice to help you have a magical vacation.

Let us help you with your next Disney Vacation!


facebook twitter
Top