Mickey light post directions

Found em by ttyping 12" globe into the search. In store sku #'s for anyone interested:

Newport Coastal 12 In. Opal Acrylic Globe: 312840
Newport Coastal 6 In. Opal Globe with Neck: 312884
Newport Coastal Black 2 In. Post Top Globe Fitter: 347376
Newport Coastal White Post Top Globe Fitter: 348480

Interestingly enough none of these are in stock anywhere near me (6 Home Depots in my area lol)

I ordered two 12" globes and two of the fitters - (one for the relative that is going to help me). That put me just over the 49.00 mark needed for free shipping!
 
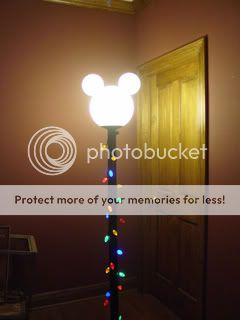
John from, Rvusa.org, surprized Denise and I (at the GG) with a Mickey Head Light he made for us!!
So way cool !

Christiana001-1.jpg


Christiana004-3.jpg


Christiana007-4.jpg


Thank you so much John, Erica and Matt !:grouphug:
 
I was at the hardware store looking for a hole saw. The salesman said that to cut acrylic, I needed a hole saw with finer teeth (more teeth per inch). They one they had was called a bi-metal (used for cutting metal and wood).

He also said to be sure to apply minimal pressure.

Anyone know what type hole saw it is I'm supposed to get? Did you have trouble using one of the saws made for wood/metal?

Men (or at least most) seem to have a natural knack for stuff like this.


Just wanted to thank everyone for sharing their tips and photos - these MLP's are very cute!
 
I was at the hardware store looking for a hole saw. The salesman said that to cut acrylic, I needed a hole saw with finer teeth (more teeth per inch). They one they had was called a bi-metal (used for cutting metal and wood).

He also said to be sure to apply minimal pressure.

Anyone know what type hole saw it is I'm supposed to get? Did you have trouble using one of the saws made for wood/metal?

Men (or at least most) seem to have a natural knack for stuff like this.

I used a dremel tool and it worked fine. Just remember to wear safety goggles as the plastic filings were flying.
 
I use a bimetal hole saw (like you mentioned) with my drill press set to low speed and drilling VERY slowly. The dremel will work, but it'd be hard to get a perfect circle, which is a snap with the hole saw.

ShantaClausSm.png


I didn't have a hole saw or a dremel at the time I made mine, so I just used a drill and drilled many holes around the circle, getting them progressively closer together, which then created a perforated edge. I was able to use a heavy duty exacto knife to then cut through the remainder. It is not a perfect circle, but it does not show.
 
On the Home Depot site, search for Product number 100671529 (globe fitter) and 100671507 (12" globe) and 100671525 (6" globe)

That should get everyone started!

In research I did the ears were approximately 70% or so the diameter of the head so I used 8" globes for the ears which IMHO is a closer match to the correct proportions than the 6" globes.

Just something folks might consider in planning out their MLPs.

Larry
 
I used a dremel tool and it worked fine.

I use a bimetal hole saw (like you mentioned) with my drill press set to low speed and drilling VERY slowly.

I didn't have a hole saw or a dremel at the time I made mine, so I just used a drill and drilled many holes around the circle

Thanks for those suggestions. At least I know that it is o.k. to use the bi-metal saw that I found. I know someone with a dremel I could borrow if needed.
Still waiting on my globes to come in. Sure hope I can get everything else wired up correctly without shocking myself:scared1:
 
I used the type of hole saw that has a drill bit and an adjustable blade I set at the required radius. I used this on a variable speed hand drill. It worked, but was hard to keep the blade cutting a little each pass and maintain contact on the surface of the globe. Next time I will try putting the saw in my drill press with some sort of cushion for the globe for better control. I don't think this type saw would work at all on glass globes.
 
I also use the bi-metal hole saw with no problem. As they say, use light pressure and don't rush it!

Dremel would work, but I'm not talented enough with one to get anything close to a circle!
 
I also use the bi-metal hole saw with no problem. As they say, use light pressure and don't rush it!

Dremel would work, but I'm not talented enough with one to get anything close to a circle!

I used paper and made a circle template for the base of my globe, then traced it on the large globe with a sharpie. It wasn't too hard to follow the line with the dremel.
 
if you buy this one. The globe and fitter are in the box $29.99
http://www.homedepot.com/h_d1/N-5yc...splay?langId=-1&storeId=10051&catalogId=10053

fits on this post with photo eye and 110 volt outlet
http://www.homedepot.com/h_d1/N-5yc...splay?langId=-1&storeId=10051&catalogId=10053

I also used the bi-metal hole saw. I ran the drill backwards (a trick from working with plastic and fiberglass gel coatings), it cuts slower but doesn't crack the globe

http://www.homedepot.com/h_d1/N-5yc...splay?langId=-1&storeId=10051&catalogId=10053
I am using this base bolted to a peice of plywood that I can park the MH front wheel on or I can pin it to the ground with long rain gutter nails
 
I used paper and made a circle template for the base of my globe, then traced it on the large globe with a sharpie. It wasn't too hard to follow the line with the dremel.

That's also what I did, but used masking tape and a pencil. When I got it it within like 1/4" of the line I took an exacto knife and cut right at the pencil line and removed the masking tape from the inside so I could accurately see how far I needed to use the drum sander on the dremel to get the circle the right size. On the four holes I did this way on the two heads I have made got them so my PVC fitting fit snug in each hole. My construction is different than what most have used, but the preps are basically the same.

Larry
 
Thanks to all the various information provided on this thread, I was able to get my lamp completed over Thanksgiving weekend. I used bits of advice from several different posters. One thing I really wanted was for the light to illuminate into the ears. I bought a socket and screwed into the globe fitter. I purchased a "Y" adapter and screwed into the socket. Into both of the sockets of the "Y" adapter, I used a 15 watt flourescent bulb. It was long and skinny and fit right up into each ear.

001.jpg


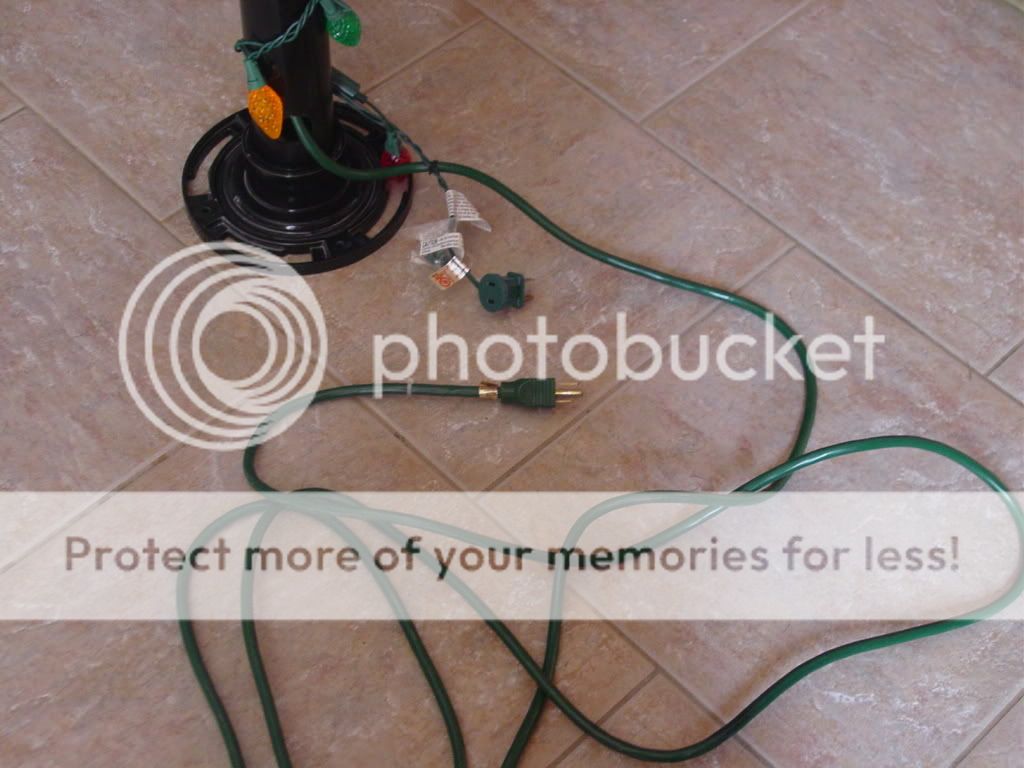
Because I wanted to use the Christmas lights around the post, I think I'm going to have to run an extension cord from the string of lights and plug that into a 3-way along with the light that runs to the head. With the hard part done, I think I'll be able to figure something out!

I chose to use the floor drain from the plumbing section as my base. I felt it gave the post a 'coming from the ground' appearance. Will have to use tent stakes to secure it.

004.jpg
 
Hubby just finished my lamp post for me last night - has been a 3 month work in progress. The globes were actually the easy part for him - got the plastic/acrylic ones from Home Depot. Our problem was finding something to secure the bottom to - we have a lot of wind and I'd hate to have it tumble. We ended up getting a large plastic flower pot (with extra holes drilled in the bottom for drainage) filled with peat gravel and in the middle a pipe that I am 99% sure is used for a stove vent (lol - I'm a lot of help I know) - it fits snugly around the lamp post pole and is about 2.5-3 feet long so that thing isn't coming out. Hubby sanded and painted the "stove" pipe black to match the other pole. I think we may get another fake ivy garland to put on around the base to pretty it up but my mom suggested getting some fake sod and a Disney village - hubby likes that idea - I'm on the fence. Yesterday I also received my personalized camping flag I had ordered from ebay and sadly my plans of putting it on the top decorative bar didn’t work out – the flag doesn’t have a big enough pocket to fit around the dowel but I think it looks just fine stuck in the bottom.


Another reason the lamp post took soo long to finish is hubby was holding it ransom until I ordered him color changing lights to go inside. I still haven’t but only because I’m no electrician and it all confuses me – I need something bright enough to light the ears – he has it set up to take 2 bulbs but even still with 2 60 watts normal ones I don’t think it’s bright enough – how do the LEDs compare????
 
Congratulations and enjoy..it looks wonderful! :wizard:
 
Looks great. I finished mine last summer, but the base below the globe fills with rain water. My globe is set into a 4-3 reducer and held with three thumb screws to make the globe removable for travel. Any suggestions on how to keep the water out without sealing the globe to the reducer? It hasn't been a hazard because the socket and bulb are elevated inside the globe, but I would like to correct the problem.
 
Looks great. I finished mine last summer, but the base below the globe fills with rain water. My globe is set into a 4-3 reducer and held with three thumb screws to make the globe removable for travel. Any suggestions on how to keep the water out without sealing the globe to the reducer? It hasn't been a hazard because the socket and bulb are elevated inside the globe, but I would like to correct the problem.

We went to a plumbing supply place and got a rubber gasket that fits at the bottom of the large globe. The globe now fits securely in the light fixture portion.
 

GET A DISNEY VACATION QUOTE

Dreams Unlimited Travel is committed to providing you with the very best vacation planning experience possible. Our Vacation Planners are experts and will share their honest advice to help you have a magical vacation.

Let us help you with your next Disney Vacation!


facebook twitter
Top