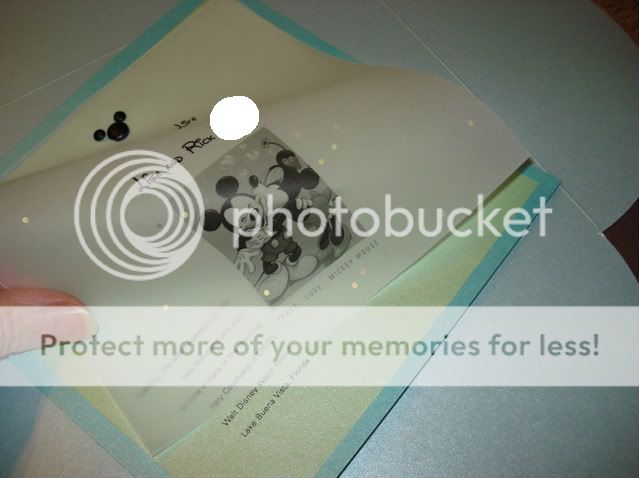
Okay, I will try and describe the process. The clear overlays are called vellum paper. The one we picked was named iridescent and it had those little iridescent spots that picked up colors sort of like a rainbow

We picked the picture of Mickey and Minnie (my sister found it on the web) and we printed the Sweethearts for Life, our names, the picture, and the peace love mickey mouse underneath the picture onto the vellum. We used the Disney font only for the big wording. It did not look well on the smaller writing at all!
The shiny paper we used is Petallics:
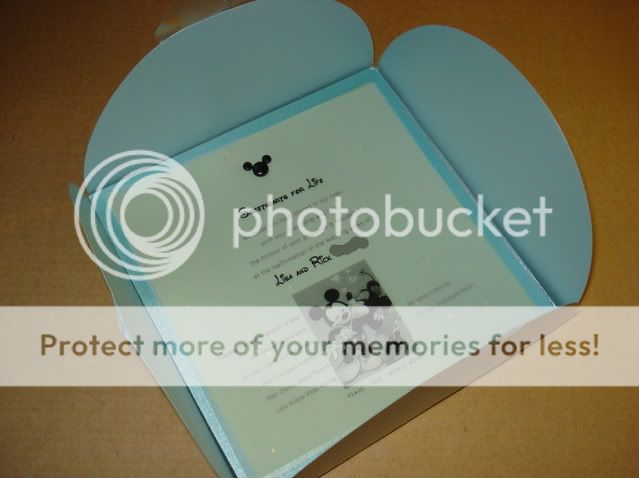
The green color - Spring Larch is not in the picture though. We printed the rest of the invitation on the green paper sized exactly the same as the vellum. We hunted for a way to put a mickey at the top of the invites. We finally came up with the tiny round black brads for the ears and a slightly bigger round black brad for the head of Mickey. We did a tiny hole punch through the vellum and green paper and placed the head of Mickey through it and sealed the brad on the back. We then took a pin and poked a tiny hole on each side to put the ears through and then pressed the brad down on the back. What was so amazing was that by sealing the larger square paper behind the green paper, the brads on the back of Mickey were covered up and so professional looking!!!

We used a small applicator of double sided scrapbooking tape or sticky film (not sure what it is called) to seal the green and blue paper together.
I hope my description is not too confusing

Good luck and I hope you will come back and post your invites too

Verse:
Sweethearts for Life
Because you have shared in our lives
with your friendship and love
the honour of your presence is requested
at the reaffirmation of the wedding vows of
Lisa and Rick ------
On the left side of Mickey and Minnie, we put the day, date, time of wedding and the location. On the right side, we put Reception following and the location of the reception. Hope this helps you
")